
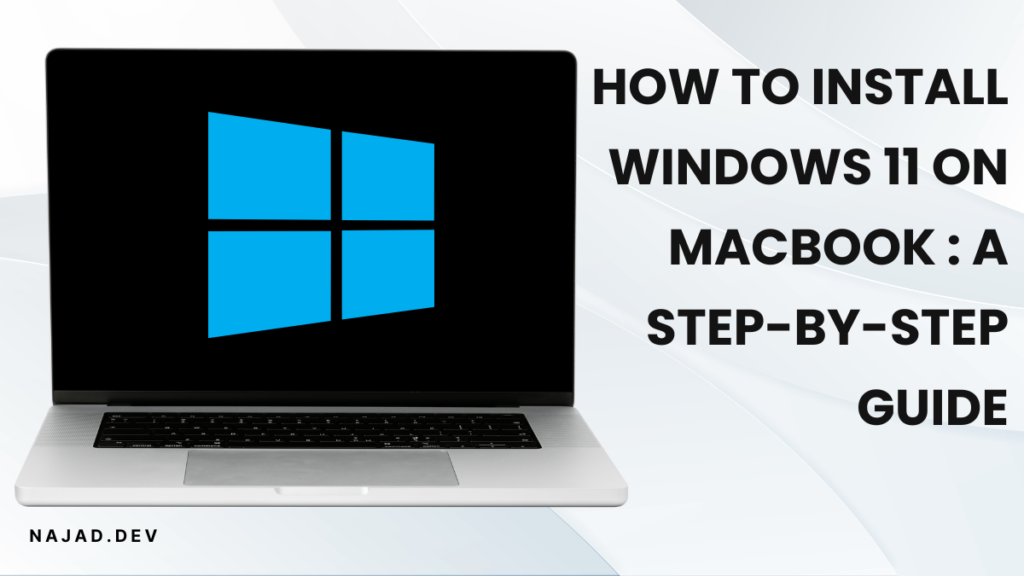
How to Install Windows 11 on MacBook : A Step-by-Step Guide 🎉
Got an older MacBook Pro gathering dust? 🚀 Bring it back to life by installing Windows 11 using Boot Camp! I recently set up Windows 11 on my 2013 MacBook Pro, and it works like a charm. If you’re ready to get started, grab your favorite drink and follow along. Let’s dive in! 💻✨
Table of Contents
1️⃣ Download the Windows 11 ISO
Head to the Microsoft Windows 11 download page and scroll down to find the Windows 11 Disk Image (ISO) section. Choose the x64 multi-edition option and hit download. Depending on your internet speed, it should take a few minutes—mine downloaded in about 4 minutes. ⏳
2️⃣ Prepare a USB Drive
Grab a 16 GB (or larger) USB drive. 🖴 Don’t worry about formatting—it’ll get wiped and prepared automatically by Boot Camp. Plug it into your Mac and let’s keep moving.
3️⃣ Launch Boot Camp Assistant
- Press Command + Spacebar, type “Boot Camp Assistant,” and press Enter.
- In Boot Camp Assistant, leave both options checked and click Continue.
- Select the Windows 11 ISO you downloaded earlier and choose your USB drive.
⚠️ Important: Boot Camp will erase your USB drive, so make sure you’ve backed up any important files.
Click Continue, enter your Mac password, and let it do its thing! This step takes about 12 minutes to create the installer.
4️⃣ Set Up Your Windows Partition
Once the USB installer is ready, you’ll see a slider to allocate storage for Windows. 🛠️ I chose 150 GB, but you can adjust based on your needs. When ready, click Install.
Your Mac will partition the drive (this takes just a couple of minutes) and then reboot into the Windows installer. If it doesn’t boot automatically, restart your Mac, hold Option, and select the USB installer.
5️⃣ Modify the Windows Registry 🛑
Here’s the tricky part: Windows 11 has certain security requirements that aren’t met by default on older Macs. Don’t worry; we can bypass them!
- When the Windows installer loads, press Shift + F10 to open Command Prompt.
- Type
regeditand press Enter to open the registry editor. - Navigate to
HKEY_LOCAL_MACHINE > SYSTEM > SETUP. - Right-click on the Setup folder, choose New > Key, and name it LabConfig.
- Inside LabConfig, create these two DWORD (32-bit) values and set their values to
1:BypassTPMCheckBypassSecureBootCheck
If your Mac has less than 8 GB of RAM or an older CPU, create these additional values and set them to 1 as well:
BypassRAMCheckBypassCPUCheck
Exit the registry editor and return to the Windows setup screen. 🎉
6️⃣ Install Windows 11
- On the setup screen, click Next.
- Enter your product key or select I don’t have a product key.
- Choose Pro, Enterprise, or Education (these editions let you skip Wi-Fi during setup).
Select the Boot Camp partition, click Next, and let Windows do its magic. The process takes about 15–20 minutes and may involve a couple of reboots.
7️⃣ Deal with Wi-Fi (Optional Workaround)
During the setup, you’ll need an internet connection—but your Mac’s Wi-Fi drivers won’t work yet. Here’s what you can do:
- Use Ethernet: A USB-to-Ethernet adapter saved the day for me. Plug in and connect directly to your router.
- Pro Edition Trick: If you chose Pro, Enterprise, or Education during installation, you can skip the Wi-Fi step entirely!
Once connected, proceed with the setup.
8️⃣ Wrap It Up
Give your device a name, log in with your Microsoft account, and configure your preferences. Boot Camp will install the necessary drivers for your Mac, ensuring everything runs smoothly. This step takes about 5 minutes. 🎉
9️⃣ Switching Between macOS and Windows
To switch operating systems, restart your Mac and hold Option. Choose between your macOS and Windows partitions—it’s that simple. 💡
Troubleshooting Tips 🛠️
- External Media Error: Unplug everything except your keyboard, mouse, and USB installer to avoid installation errors.
- Unsupported macOS: If you’re running an older macOS version, consider upgrading to a newer version using tools like OpenCore.
Final Thoughts 🌟
Installing Windows 11 on an old MacBook Pro breathes new life into the hardware. It’s a great way to extend the usability of your device while enjoying the best of both worlds. 🌍💻
Have questions or need help? Drop a comment below or check out more tutorials on najad.dev. Good luck, and enjoy Windows 11 on your Mac! 😊