

Hey there, tech enthusiasts! 👋 Welcome to najad.dev, your go-to place for all things Linux, programming, and embedded systems. Whether you’re a seasoned coder, a budding DevOps enthusiast, or just starting your tech journey, this guide will help you set up the perfect developer environment on Linux.
Let’s dive right in! 🚀
Step 1: Choosing the Right Linux Distribution 🖥️
Your choice of Linux distribution can shape your development experience. Here are some great options:
- Fedora: Cutting-edge features, reliability, and robust community support.
- Ubuntu or Pop!_OS: Popular and beginner-friendly, especially for DevOps.
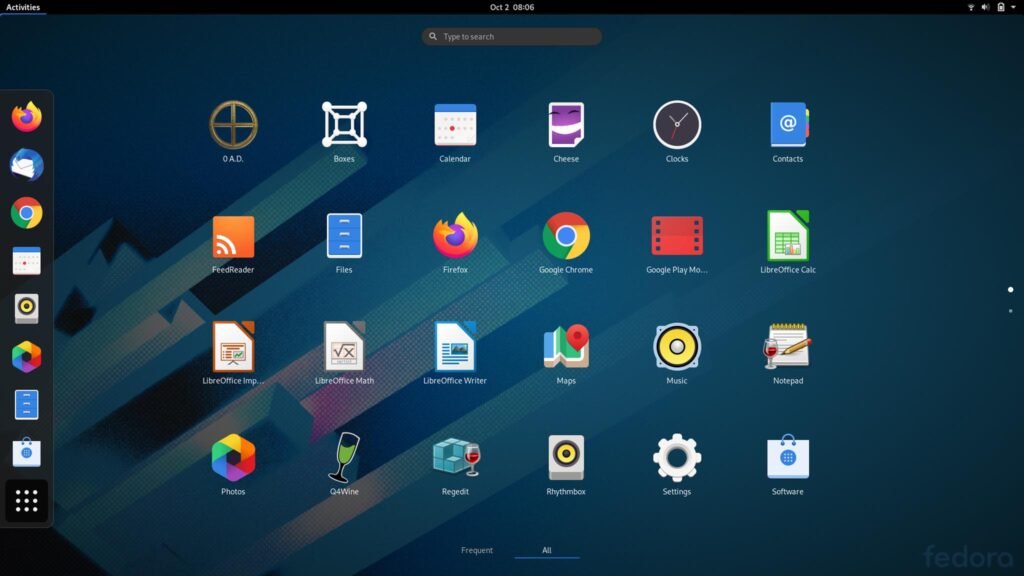
For this guide, we’ll go with Fedora—a powerful, secure, and versatile distro perfect for developers and DevOps folks. 🎯 Download the Fedora ISO from their official website and follow their installation instructions.
Step 2: Supercharge Your Terminal with Zsh + Oh My Zsh 💻
A productive terminal is essential for developers. Let’s take it to the next level with Zsh and Oh My Zsh.
Why Zsh?
Zsh builds on the default Bash shell and offers:
- Enhanced auto-completion
- Syntax highlighting
- Better scripting support
- Tons of customization options
To install Zsh on Fedora, fire up your terminal and type:
sudo dnf install zsh
Once installed, set it as your default shell:
chsh -s $(which zsh)

Installing Oh My Zsh
Oh My Zsh is a framework for managing Zsh configurations, themes, and plugins. First, make sure Git is installed:
sudo dnf install git
Then, install Oh My Zsh by running this command in your terminal:
sh -c "$(curl -fsSL https://raw.github.com/ohmyzsh/ohmyzsh/master/tools/install.sh)"
You’ll love how customizable and sleek your terminal looks now! 🎨
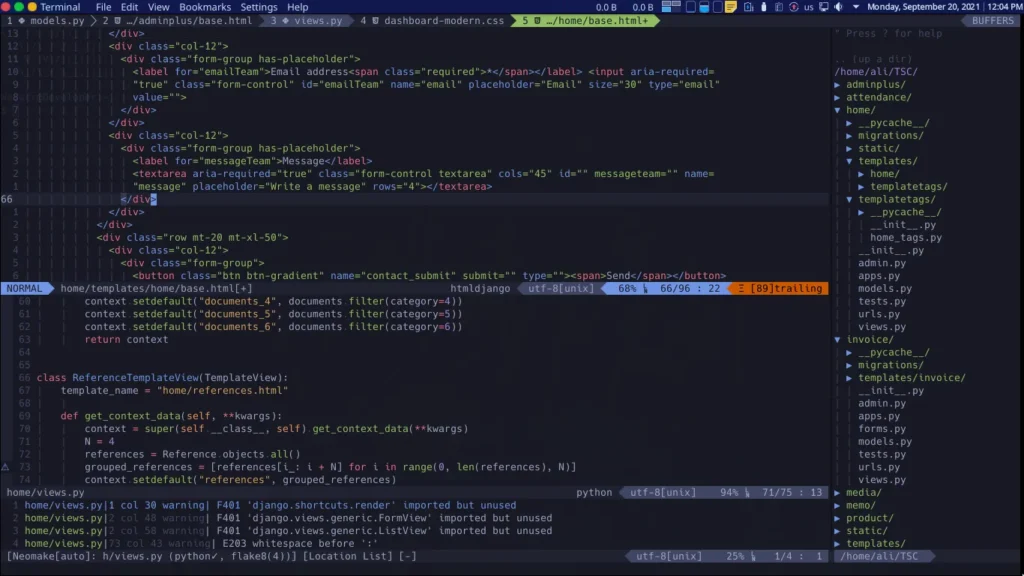
Step 3: Power Up with Vim ✍️
Vim is a highly efficient text editor that’s perfect for developers. Let’s set it up:
Install Vim using Fedora’s package manager:
sudo dnf install vim
Now, let’s make Vim shine! Open the .vimrc file in your home directory:
vim ~/.vimrc
Add these settings to enhance your experience:
syntax on
set number
set relativenumber
set tabstop=4
set shiftwidth=4
set expandtab
set cursorline
Save and exit by pressing Esc, then typing :wq. Done! 🎉
Step 4: Version Control with Git 🔗
Version control is crucial for managing your projects. Git is the industry standard, and here’s how to set it up:
Install Git:
sudo dnf install git
Configure your username and email:
git config --global user.name "Your Name"
git config --global user.email "youremail@example.com"
Verify your setup with:
git config --list
Start tracking a project:
git init
git add .
git commit -m "Initial commit"
To connect to GitHub or GitLab, set up an SSH key for secure interactions. Here’s how:
- Generate the key:
ssh-keygen -t rsa -b 4096 -C "youremail@example.com" - Copy the key and add it to your GitHub or GitLab account.
Push changes to your repository:
git remote add origin <your-repo-url>
git push -u origin main
Step 5: Containerize with Docker 🐳
Docker lets you create isolated environments for your applications.
Install Docker on Fedora:
sudo dnf install docker
Start and enable Docker:
sudo systemctl start docker
sudo systemctl enable docker
Verify the setup with:
docker run hello-world
You’re all set to explore Docker’s endless possibilities!
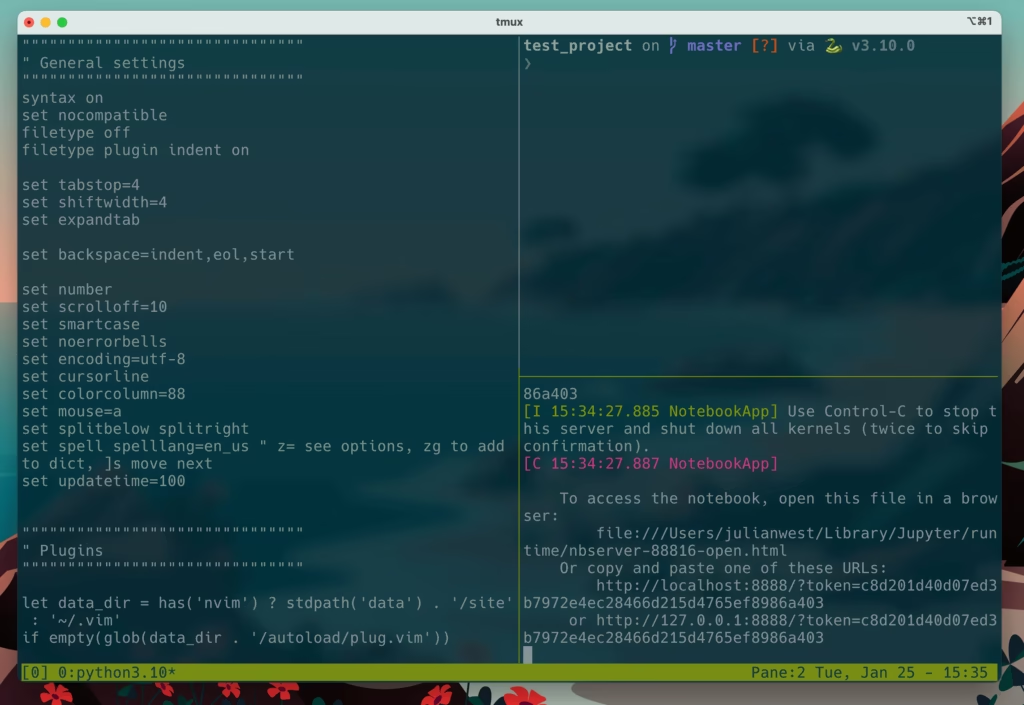
Step 6: Multitask Like a Pro with Tmux 🤹♂️
Tmux is a terminal multiplexer that helps you manage multiple terminal sessions in one window. Install it on Fedora:
sudo dnf install tmux
Experiment with Tmux’s features to improve your workflow. It’s a game-changer for multitasking!
Step 7: Automate with a Script 🛠️
Save time with a simple script to update your system:
Create a file named update.sh:
#!/bin/bash
sudo dnf update -y && sudo dnf autoremove -y
Make it executable:
chmod +x update.sh
Run it periodically to keep your system clean and updated.
Wrapping Up 🎯
We’ve covered a lot today:
✅ Set up Fedora Linux
✅ Enhanced the terminal with Zsh and Oh My Zsh
✅ Customized Vim for coding
✅ Configured Git for version control
✅ Installed Docker and Tmux
✅ Created an automation script
Now you’re ready to take on any development project with confidence! 💪
Got any tips or tools you’d like to add? Let us know in the comments below! And don’t forget to check back for more tutorials on Linux, Raspberry Pi, and beyond.
Happy coding! 😊