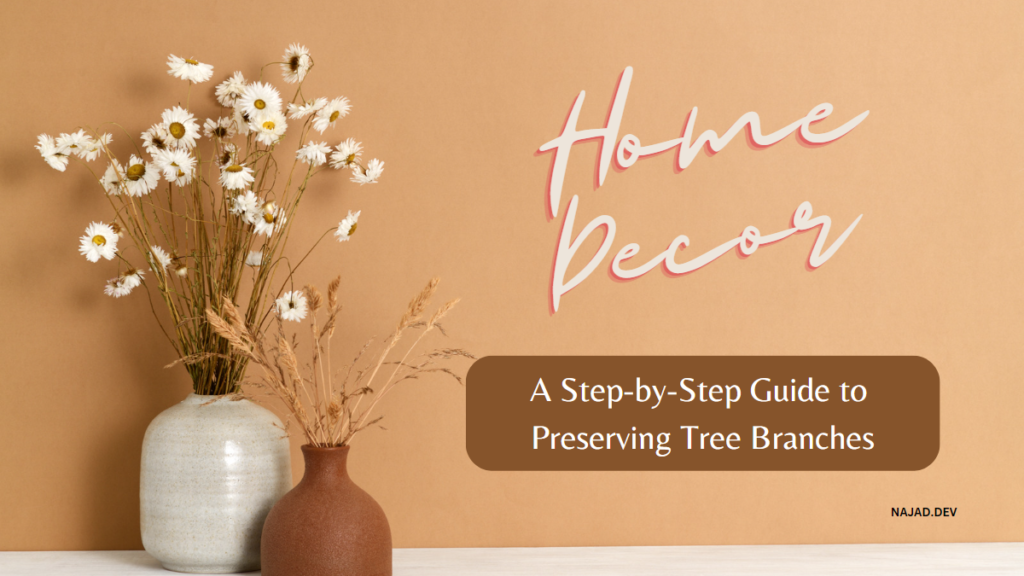
Introduction:
Bringing the beauty of nature indoors has always been a popular design trend, and preserving a tree branch for indoor decoration is a wonderful way to achieve just that. By following a few simple steps, you can transform an ordinary branch into a captivating centerpiece or wall-mounted artwork. In this blog post, we’ll guide you through the process of preserving a tree branch for indoor decoration, allowing you to add a touch of nature and personality to your home.
Step 1: Selecting the Perfect Branch
Begin by choosing a sturdy and visually appealing tree branch. Look for interesting shapes, unique textures, and ensure the branch is dry and free from pests or signs of decay. This careful selection will set the foundation for a stunning indoor decoration.
Step 2: Cleaning and Drying
Prepare the branch for preservation by gently removing any loose bark or debris. Use a soft brush or cloth to clean the surface thoroughly. Once clean, allow the branch to air dry completely for a few days. This step ensures that excess moisture is removed, preventing mold or decay in the future.
Step 3: Removing Moisture
To further eliminate moisture and safeguard against decay, it’s time to employ the oven method. Preheat your oven to a low temperature of around 200°F (93°C). Place the branch on a baking sheet lined with parchment paper, and carefully position it in the oven. Regularly check the branch to prevent it from drying out too much or burning, aiming for a gentle and controlled moisture removal process.
Step 4: Preserving the Branch
There are various preservation methods available, each offering distinct outcomes. Here, we’ll cover two popular approaches:
a. Air-Drying:
Hang the branch upside down in a dry, well-ventilated area. Keep it away from direct sunlight and excessive humidity. Allow several weeks or even months for the branch to air dry completely. During this time, it will harden and stabilize, ensuring its long-lasting beauty.
b. Applying a Preservative:
Opt for a wood stabilizer or wood preservative readily available at hardware stores. Follow the instructions provided by the manufacturer for proper application. Typically, this involves brushing or spraying the preservative onto the branch, allowing it to soak in or dry completely.
Step 5: Adding the Finishing Touches
Once your preserved branch is dry and stable, you have the option to apply additional finishes or treatments to enhance its appearance and longevity. Consider using a clear varnish, wood stain, or paint to protect the branch and showcase its unique characteristics. Apply the chosen finish according to the product instructions, allowing ample drying time between coats.
Step 6: Displaying Your Preserved Branch
With your beautifully preserved branch in hand, it’s time to showcase it as an exquisite indoor decoration. Whether you place it in a decorative vase or pot, mount it on a wall, or incorporate it into a larger centerpiece or arrangement, let your creativity shine. Be mindful of its weight and stability, especially when hanging it, to ensure a secure and eye-catching display.
Conclusion:
Preserving a tree branch for indoor decoration allows you to bring the wonders of nature into your home while adding a personal touch. By following this step-by-step guide, you can transform an ordinary branch into a captivating piece of art. Embrace the beauty and charm of nature within your living space, creating a unique and inspiring ambiance that will surely captivate your guests and provide a soothing connection with the natural world.

